Most people open Vyapar for the first time, tap “Add Sale” straight away, and then spend the next hour going back to fix things. The invoice has no GSTIN on it. The item has no tax rate. The customer’s state is missing, so the tax type is wrong.
None of that is hard to fix, but it is easier to avoid. Spend your first half hour setting things up in the right order and every bill after that just works.
This guide follows the setup order Vyapar itself uses in its billing tutorial, with notes from our own experience.
Before you start
Keep these within reach:
- Your GSTIN, if you are registered. It is 15 characters long and starts with your state code. Our guide to reading a GSTIN explains every part.
- Your business logo as an image file. A square PNG works well.
- A list of your top 20 to 30 products with their selling price, purchase price and GST rate.
- Your regular customers and suppliers, with phone numbers, and GSTIN for the registered ones.
If you have not created your Vyapar account yet, do that first and enter the referral code PNQ1G9 on the OTP screen. Our referral code guide shows the exact box.
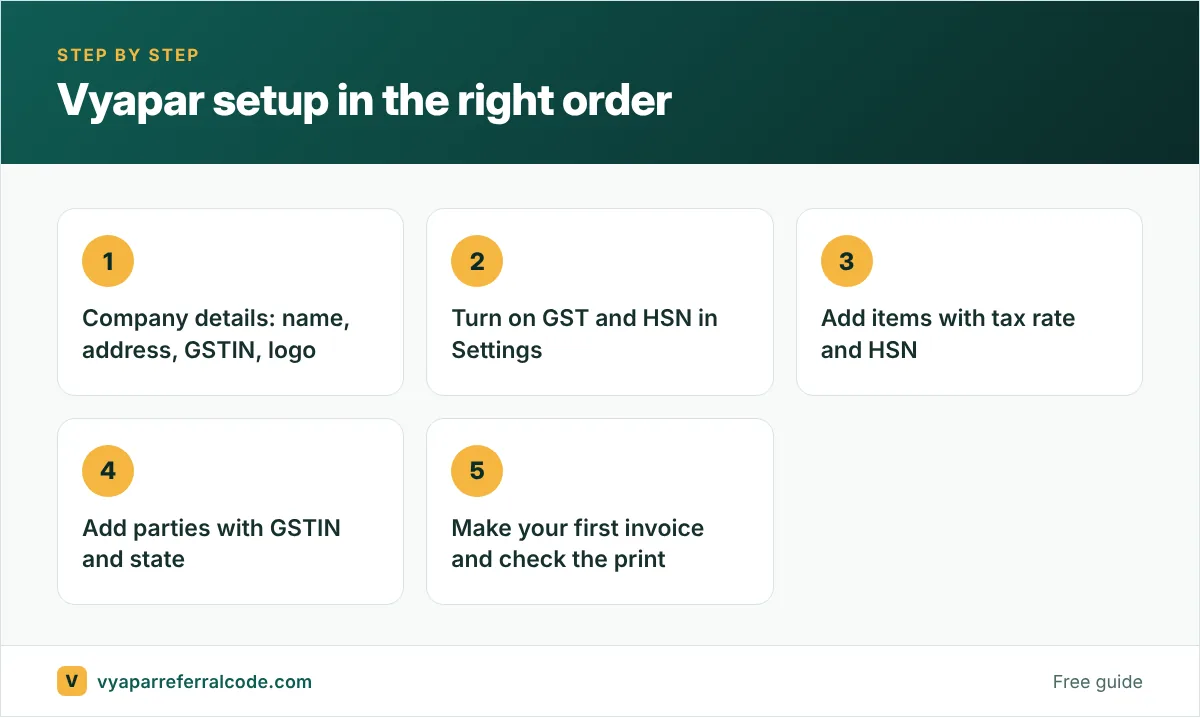
1. Add your company details
Everything on your invoice header comes from here, so this is the first stop.
On the desktop app, click My Company (your business name, top left) to open the firm details. Add your business name, address, phone, email and GSTIN. Under More Information you can add the logo, your signature and the business category.
Two small things people skip:
- State. Vyapar uses your state to decide between CGST + SGST and IGST. Leave it blank and the tax on every inter-state bill can come out wrong.
- Signature. If you send PDF invoices on WhatsApp, a signature makes them look finished.
2. Turn on GST
Open Settings (the gear icon), go to Taxes & GST, and switch on GST. Turn on the HSN/SAC code option at the same time. If you are under the composition scheme, this is also where you set that up, and Vyapar then prints a bill of supply instead of a tax invoice. Our guide to the composition scheme explains the difference.
Not registered under GST yet? You can still bill. Leave GST off for now and come back when you register.
3. Add your items
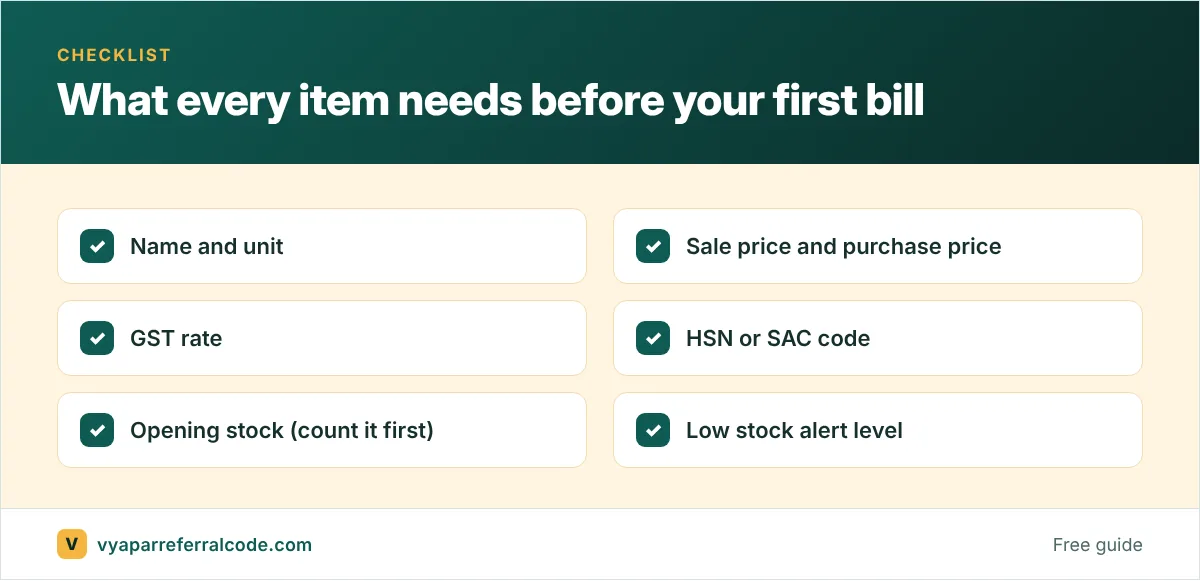
Open Items and click Add Item. For each product, fill in:
- name and unit (pieces, kg, box, litre)
- sale price and purchase price
- GST rate and HSN code
- opening stock, which is what you physically have today
- a minimum stock level, so Vyapar warns you when it runs low
If you have hundreds of products, do not type them one by one. Vyapar can import items from an Excel sheet; we walk through it in importing items from Excel.
A habit that saves trouble later: count your stock before typing the opening quantity. A number copied from an old register that nobody checked will be wrong for months.
4. Add your parties
In Vyapar, a “party” is anyone you buy from or sell to. Open Parties and add your regular customers and suppliers. For registered businesses, add their GSTIN and state. Add an opening balance if they already owe you money, or you owe them.
The opening balance matters more than it looks. Vyapar’s payment reminders and party statements start from it. Get it right once and you never have to work out “kitna baaki hai” from memory again.
5. Make your first invoice
Now click Add Sale. Pick a party, add two or three items, and save. Then do one thing most people skip: open the invoice and print it, or share the PDF to your own WhatsApp.
Look at it the way your customer will. Is the logo there? Is the GSTIN printed? Does the HSN column show? If something is missing, fix it now in the print settings rather than after you have sent 50 bills. Our guide to customising the Vyapar invoice covers every option.
Settings worth turning on early
These are all off by default, and we wish we had turned them on on day one:
- Low stock dialog. A pop-up while billing when an item is running out.
- Payment reminders. Vyapar can send reminders on WhatsApp or SMS. See our payment reminder guide.
- Auto backup. Your data goes to Google Drive regularly. More in backup and restore.
- Audit trail. A log of every edit and deletion. Useful when more than one person bills. See audit trail.
What to leave for later
You do not need everything in week one. E-way bills, the online store, multiple firms, user roles and Tally export can all wait until you actually need them. Learning them before you have a single real invoice in the app just makes Vyapar feel more complicated than it is.
Phone or computer?
Vyapar works on both. The phone app is great for quick bills and checking balances. The computer is faster for a busy counter, especially with a barcode scanner and a printer. If you want both, choose a Desktop + Mobile plan so your data syncs. Our mobile vs desktop comparison helps you decide.
Your first week, day by day
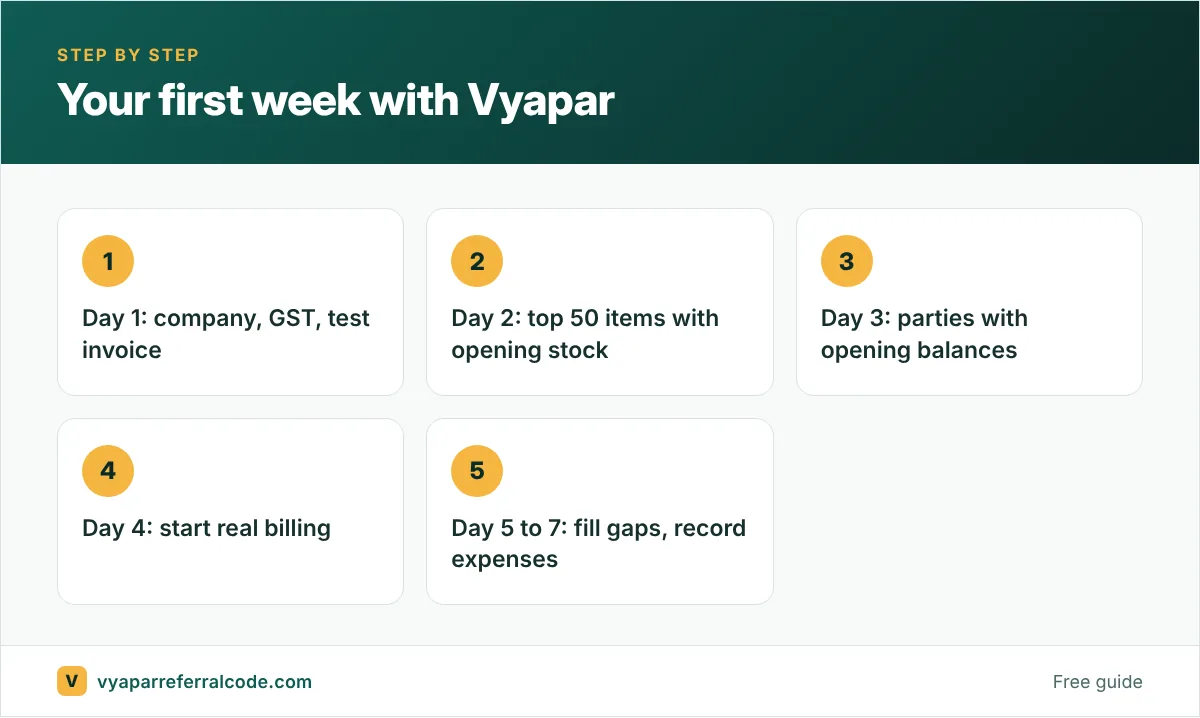
Setting everything up in one sitting is tiring, and tired data entry is where mistakes creep in. Here is a pace that works for most shops we help:
- Day 1: company details, GST settings, invoice prefix. Make one test invoice and print it.
- Day 2: your 50 fastest-moving items with HSN codes, rates and opening stock.
- Day 3: parties, starting with customers who owe you and suppliers you owe, with opening balances.
- Day 4: start billing for real. Keep the old book next to you for one day as a safety net.
- Day 5 to 7: add the remaining items as they come up at the counter, record expenses, and look at the day book each evening.
By the end of the week, your stock and dues reports start meaning something, and that is the moment the software starts paying for itself.
A quick test before you go live
Before the first real customer, make three test bills: one cash sale, one credit sale to a party, and one with a discount. Check that the tax, total, party balance and stock all move the way you expect. Then delete the test bills (or better, use a test company) so your numbers start clean. This ten-minute check catches most setup errors while they are still cheap to fix.
If anything looks off, our beginner mistakes guide lists what usually causes it.
Frequently asked questions
How long does Vyapar setup take?
Company details and GST take about 10 minutes. Items take longer, depending on how many you have. With an Excel import, even a few hundred items can be done in one sitting.
Can I change my company details later?
Yes. Everything under My Company can be edited at any time. New invoices pick up the change.
Do I need GST registration to use Vyapar?
No. You can make non-GST bills and turn GST on later when you register.
Where do I enter the Vyapar referral code?
When you create your account, on the OTP screen, in the “Invite Code (if any)” box. It does not appear again inside the app.